


.jpg) |
| And super fun DIY Projects |
Tomorrow is the first day of Fall!!!! Squeeeeeeee!!! I just love fall. I love the colors, the smells, the comfort foods, and the decor. So, in honor of the first day of fall I am putting together a "How To" article. Let me tell ya, if I am putting together a "how to" then it is a simple task. No, seriously. My kids could do it.

There are only a few things you need for this, and there is no sewing required.
1. 12 in foam wreath

2. Fabrics with multiple colors and patterns. You can use 2 to 4 different fabrics depending on how fun you want it. I'm lazy and buy the cheap pre-cut squares from Walmart.

3. A wooden meat skewer

4. Ribbon that matches the fabric you chose.

5. A fall plaque for the center. Make sure it has a spot you can later feed you ribbon through. I found mine for a dollar at The Dollar Tree. This is optional though. You don't NEED anything in the center. It's beautiful either way.

Oh and put on a good movie. You'll be done with this project by the time it's over.
Here we go!
Cut up a bunch of that fabric into little 2 inch pieces. Make sure you keep the fabrics separate. Don't mix then all up like a bunch of wild animals. hehe
After you get everything cut and SEPARATED (I say that loudly because I know that some of you jumped the gun and threw them all in a bowl. Like I said not to do.) Grab your foam wreath and your wooden skewer. You are going to grab your first piece of frabric from pile one, lay it on the wreath starting at the bottom end of the top of the wreath. Totally sounds confusing. I know. So I made a picture. Use the skewer to twist the center of the fabric into the wreath. About half way to a quarter of the way down. If you poke through to the other side, YOU WENT TO FAR. Make sure you're doing this in a straight line from bottom to top, alternating the fabric (seeeee that's why it needed to be separated, so you could alternate.) Also, make sure you them close enough together that no white shows. I know, I know. I ask a lot of you all.


Once you get all the way around, you will just need to ad the finishing touches. So, grab that ribbon cut of about 2 ft of it. Fold it in half and tie the ends together in a nice tight knot or bow.

Now, lay it flat and lay your gorgeous wreath on top of it, with the bottom loop at the center of the wreath.

Now, loop the ribbon through the hole little plaque you chose. (if you chose one)

After pulling it through the hole, grab the top of your ribbon. The part with the bow or knot, and loop it through the bottom loop.

Pull tight!!

TA DA!!!!!!
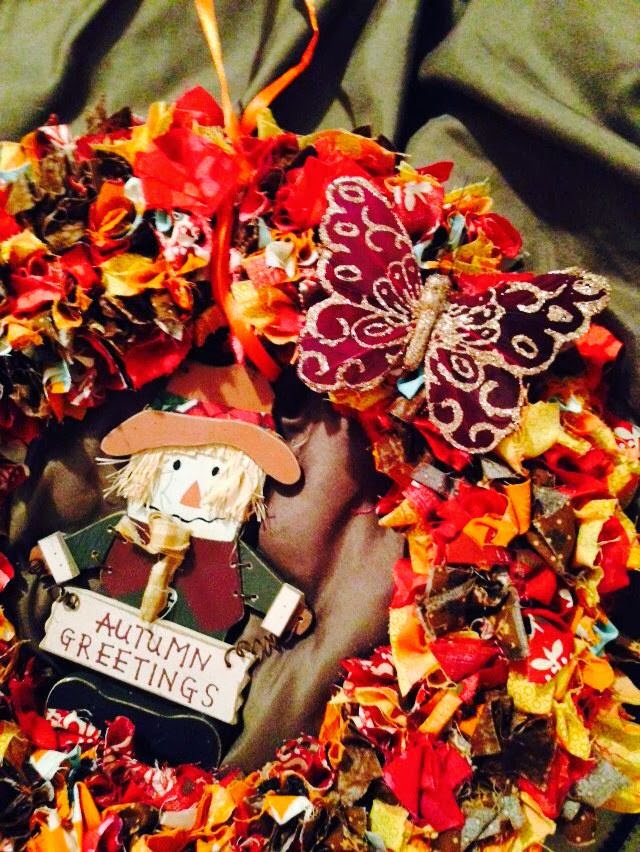
Now you can hang you pretty wreath on the front door or patio door. It is a warm and inviting addition to any home this holiday season, and it's so simple you can get your kids involved!!


Very nice. I love the color and fabric choices. Thanks for sharing!!!
ReplyDeleteLOVE this, Tia!!!
ReplyDeleteThanks ladies. It made me feel all crafty and stuff. haha
ReplyDelete